
Imagine cautiously walking into a cold, dark room and being forced to sit on a mat on the floor. Huge shining lights are blinding you from all directions. You try to look around for something that gives you an idea of where you are. Your eyes dart to a rocking horse in one corner of the room, Christmas props in the other corner. Then suddenly, someone you have never seen before emerges out of the dark with a black device in their hands and yells “SAY CHEESE!”
Now imagine you are 4 years old. Terrifying right? THIS is why studio photo shoots don’t often work for kids!
Originally, I started doing at-home photo shoots to save money and make my kids feel more comfortable, then I realized it was just a whole bunch of fun! With the right gear, you can turn any spot in your house into your own personal studio for WAY less than a sitting fee!
What I recommend if you want to successfully set up your photo shot area is (SPOILER ALERT: It is easy and cheap!):
- Backdrop
- A backdrop support system
- Studio lighting or a external flash (optional)
1) Set the Stage with Backdrops
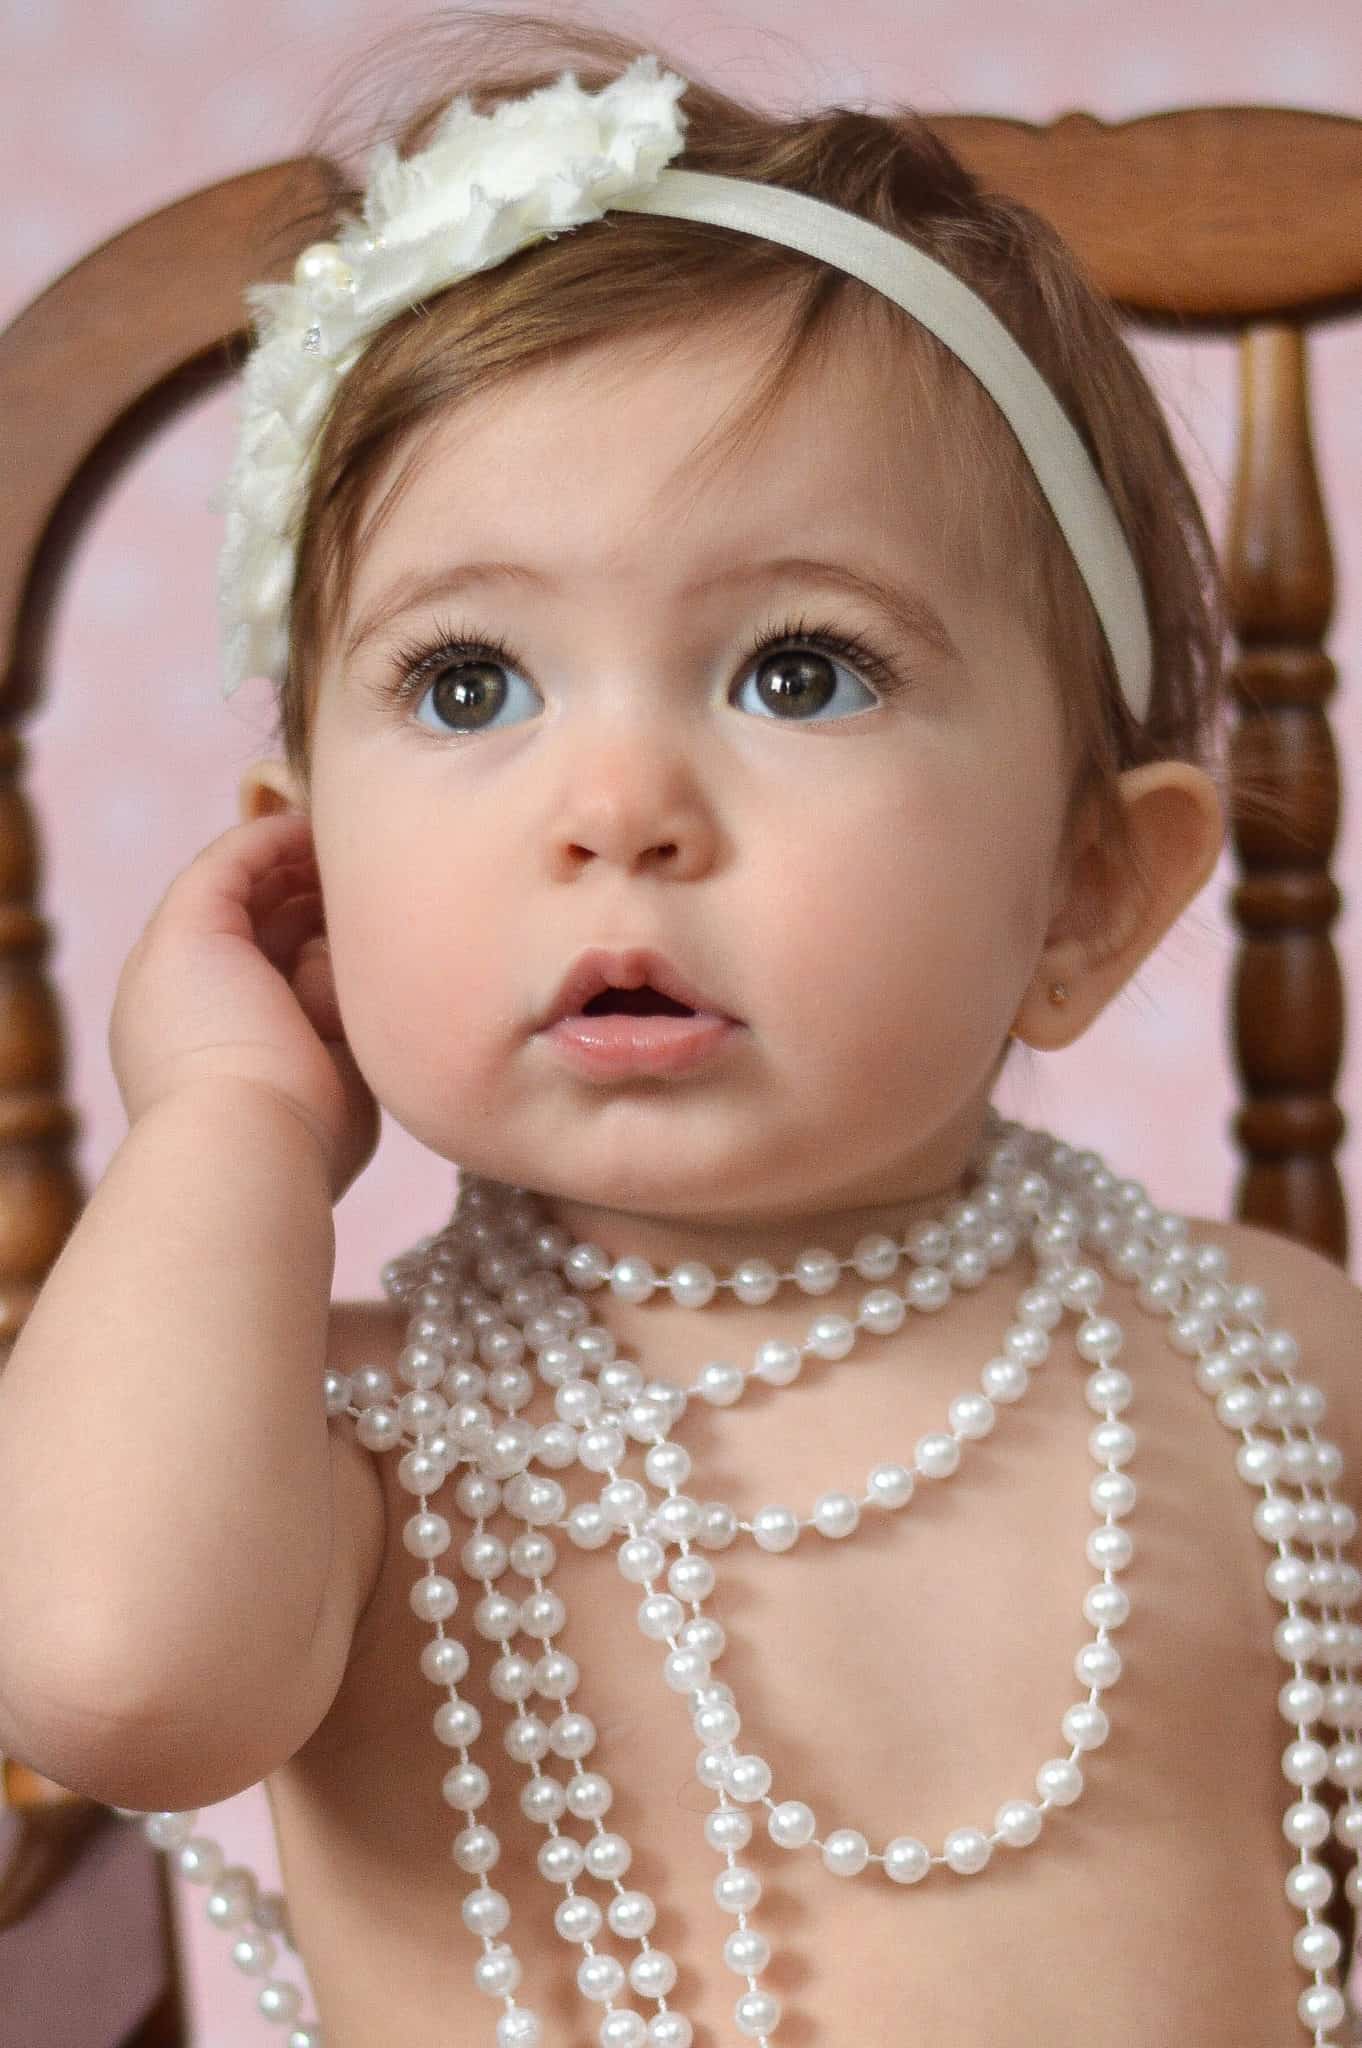
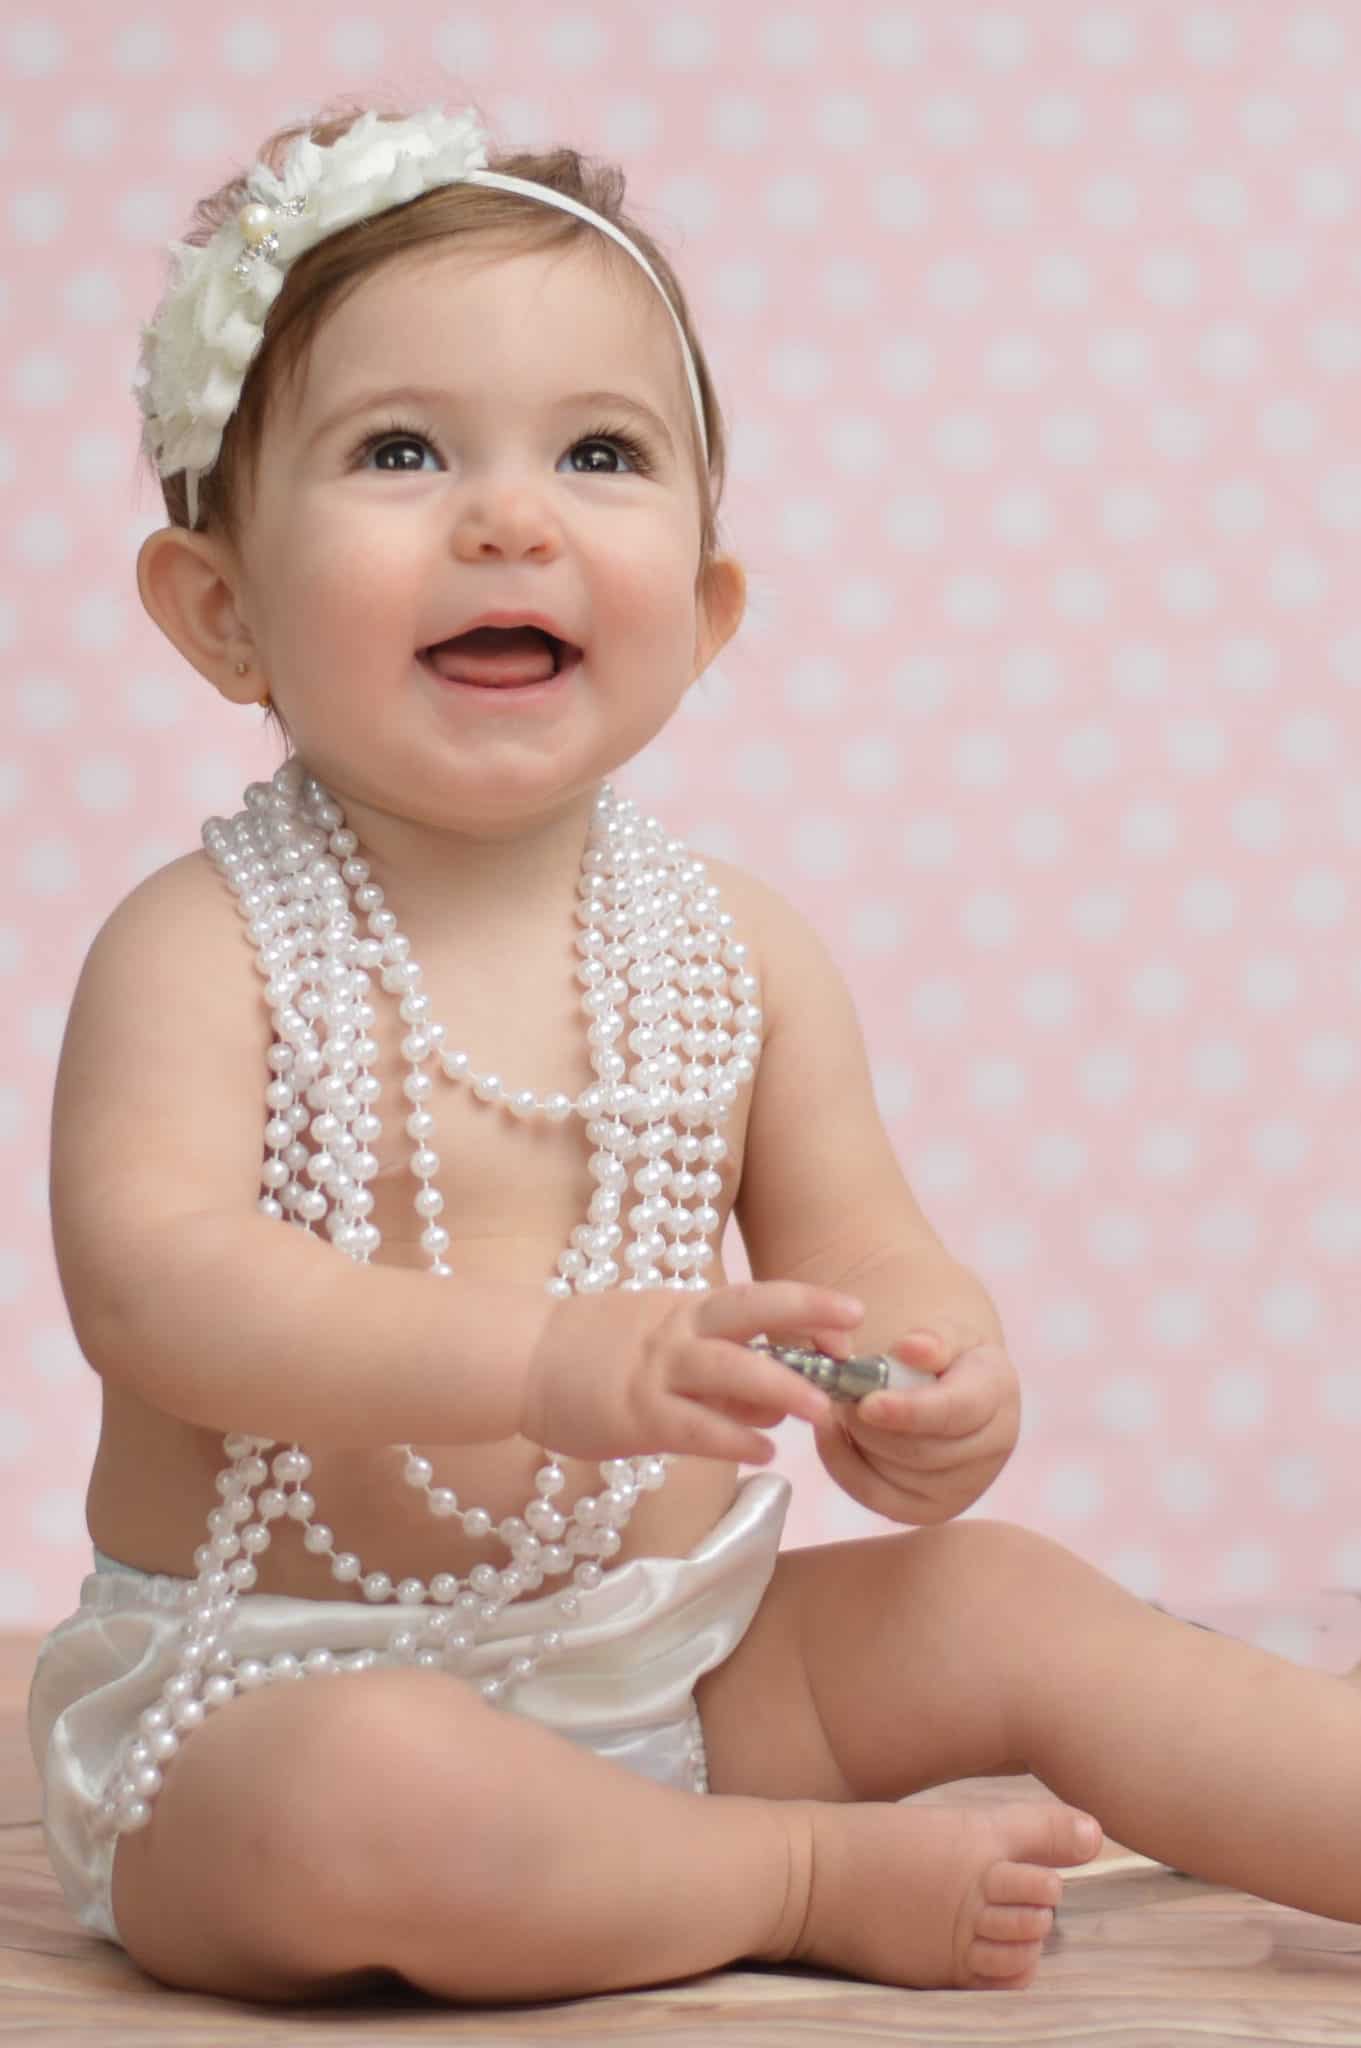
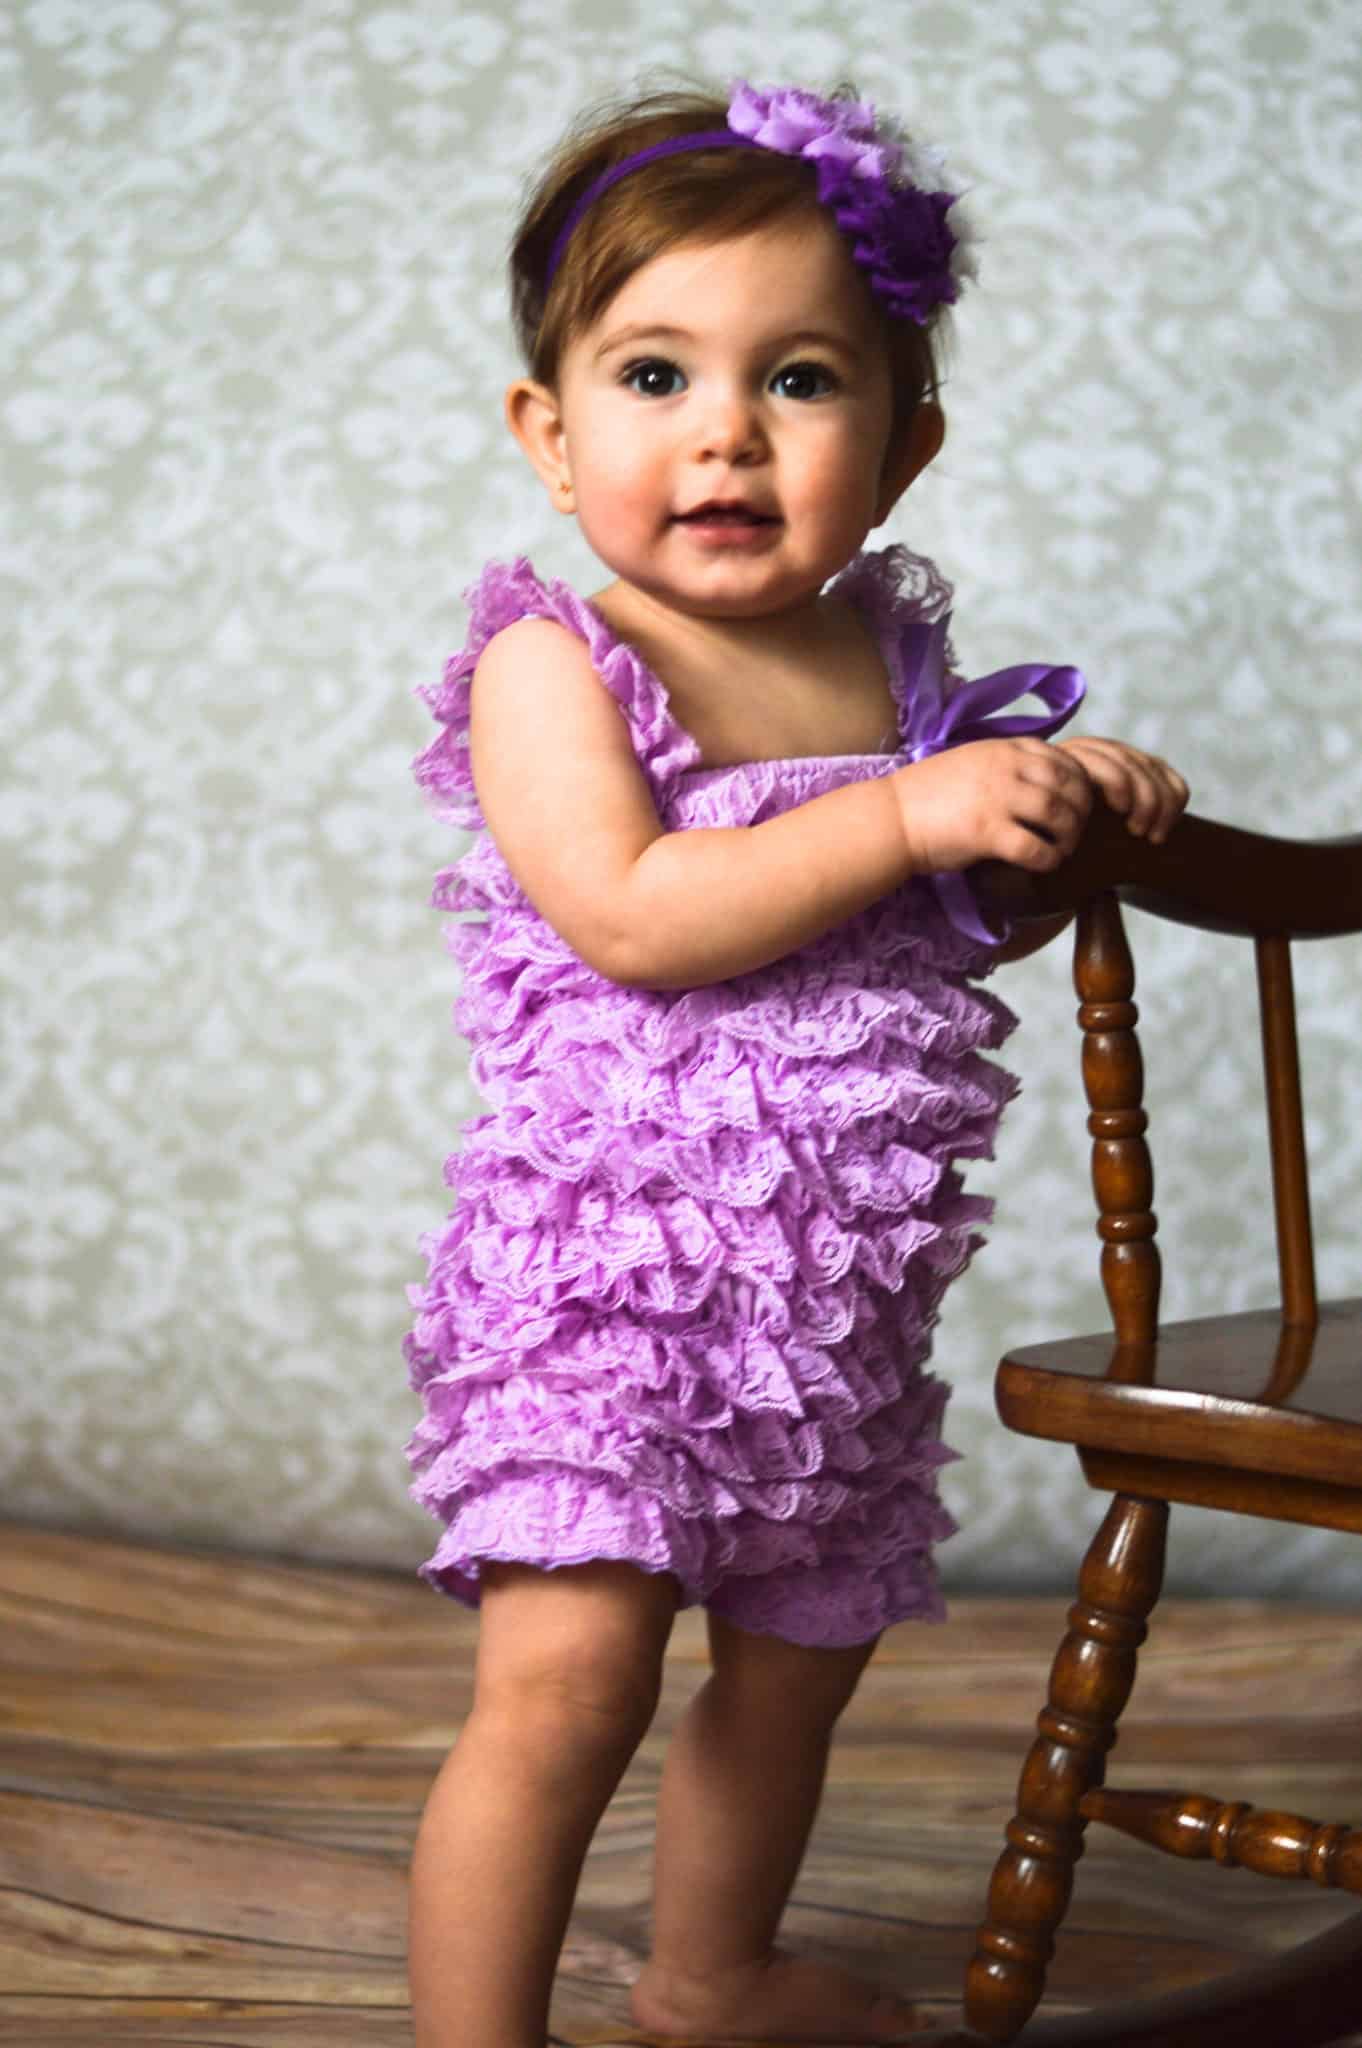
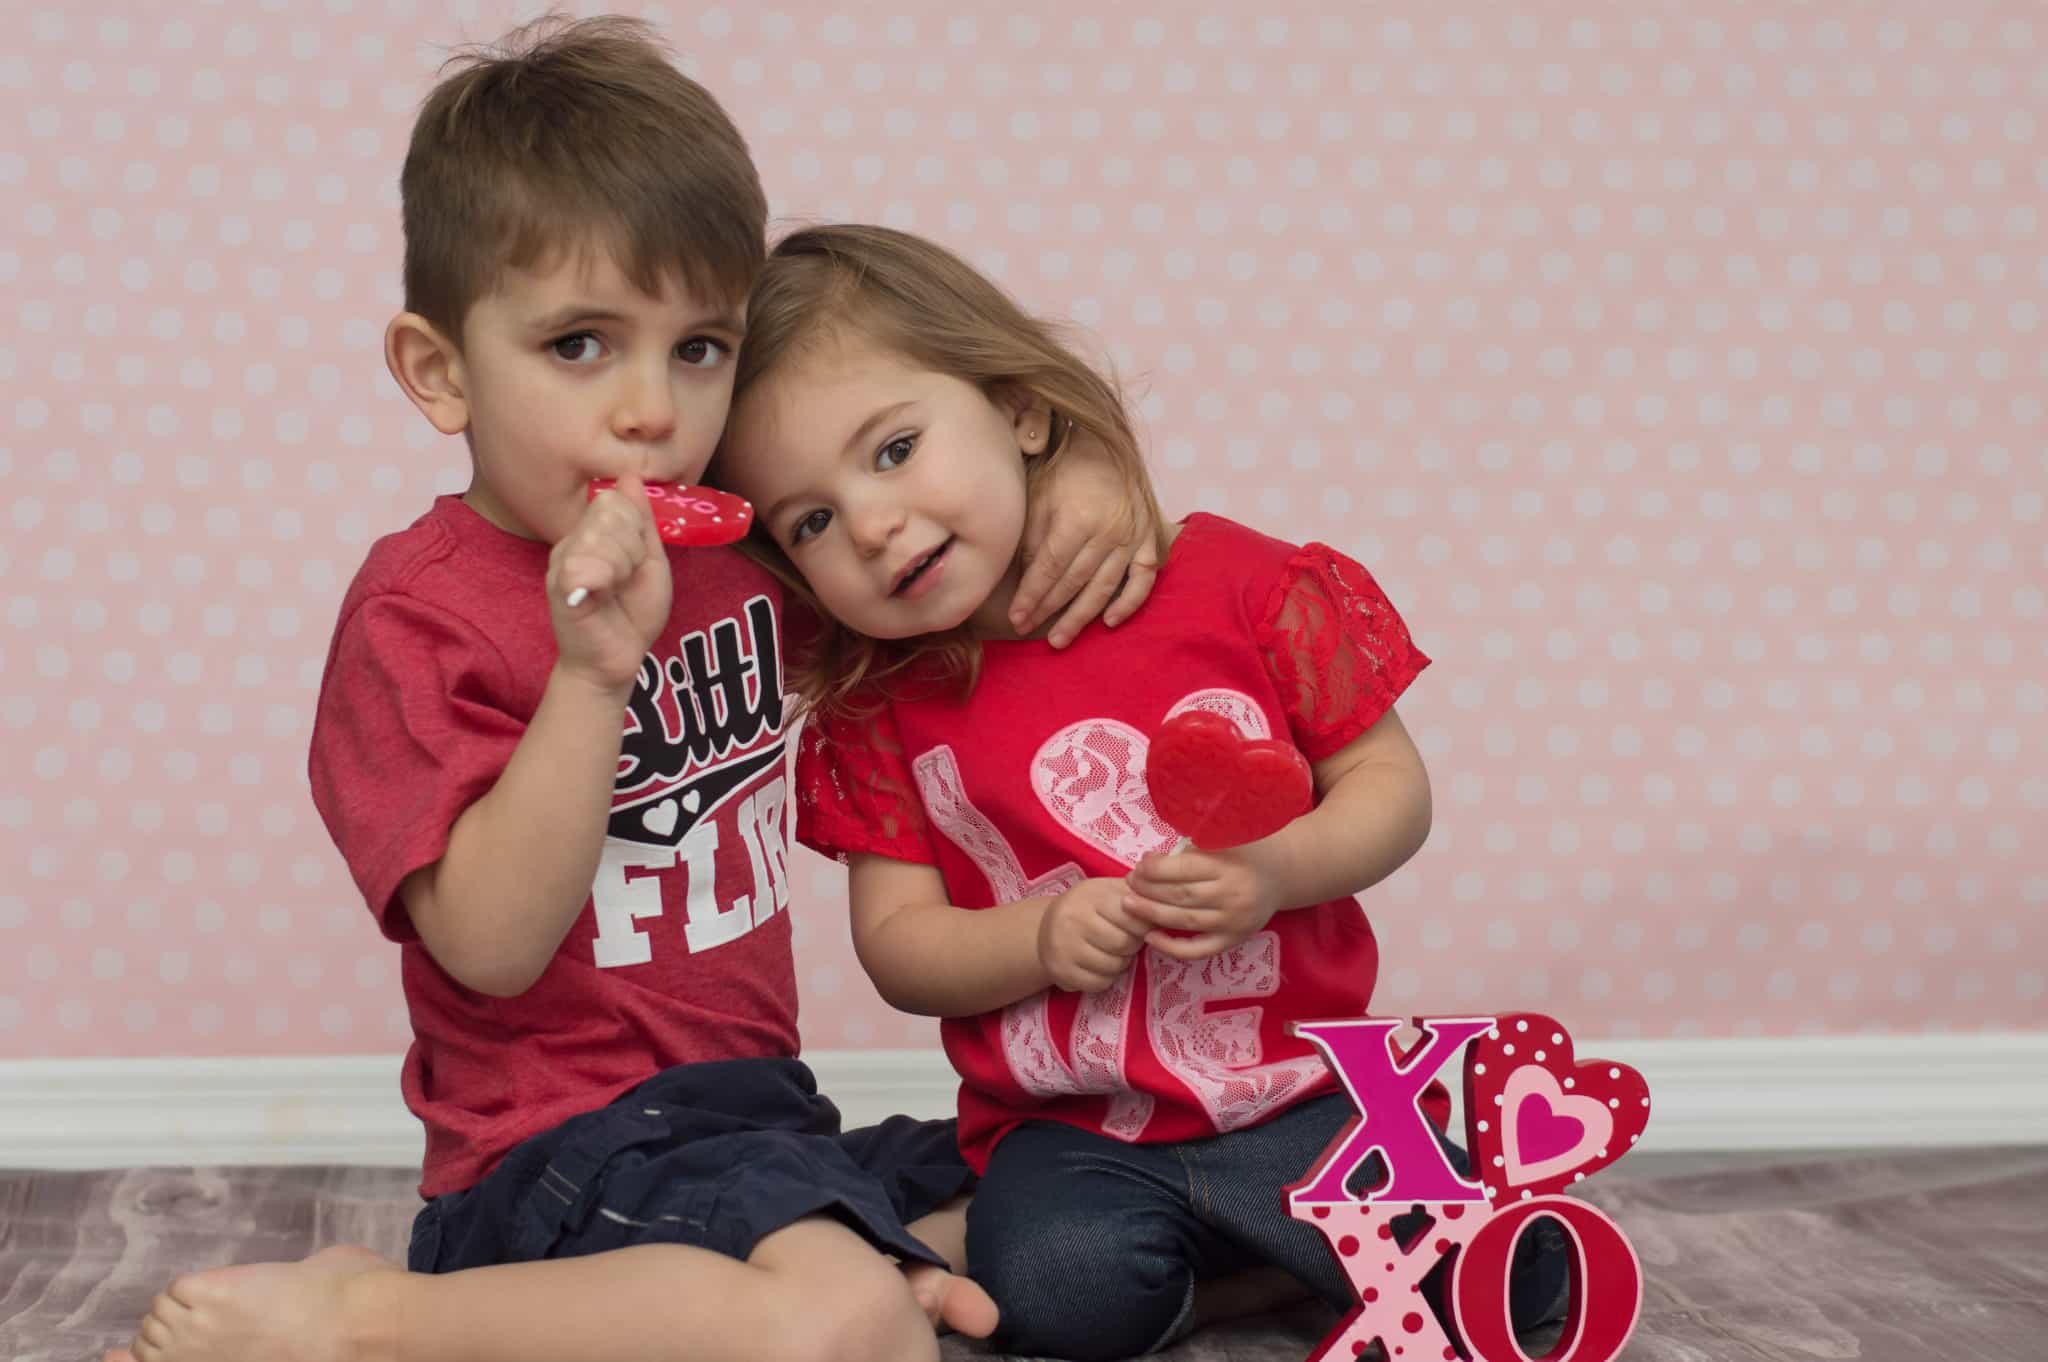
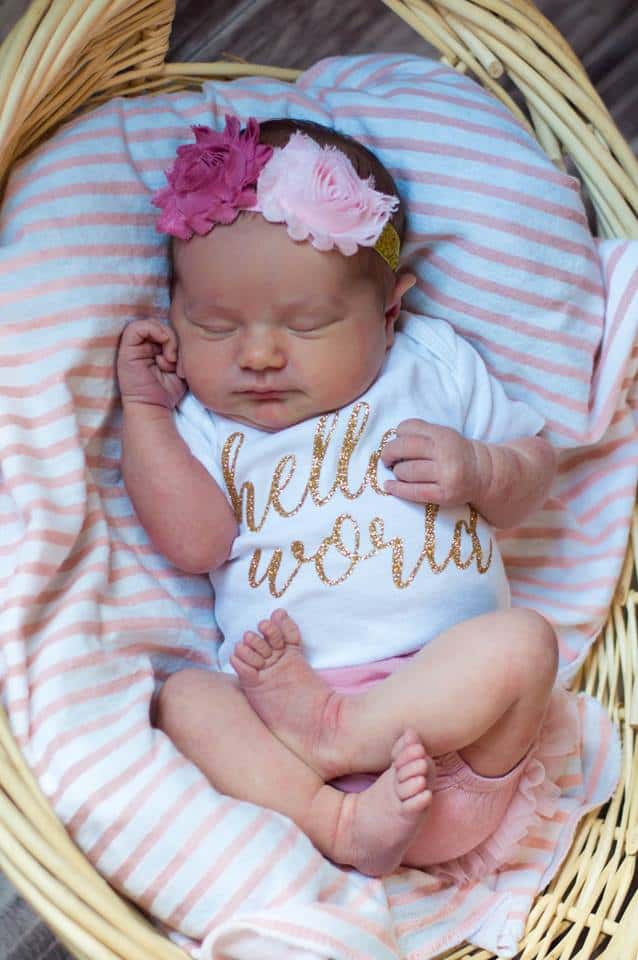
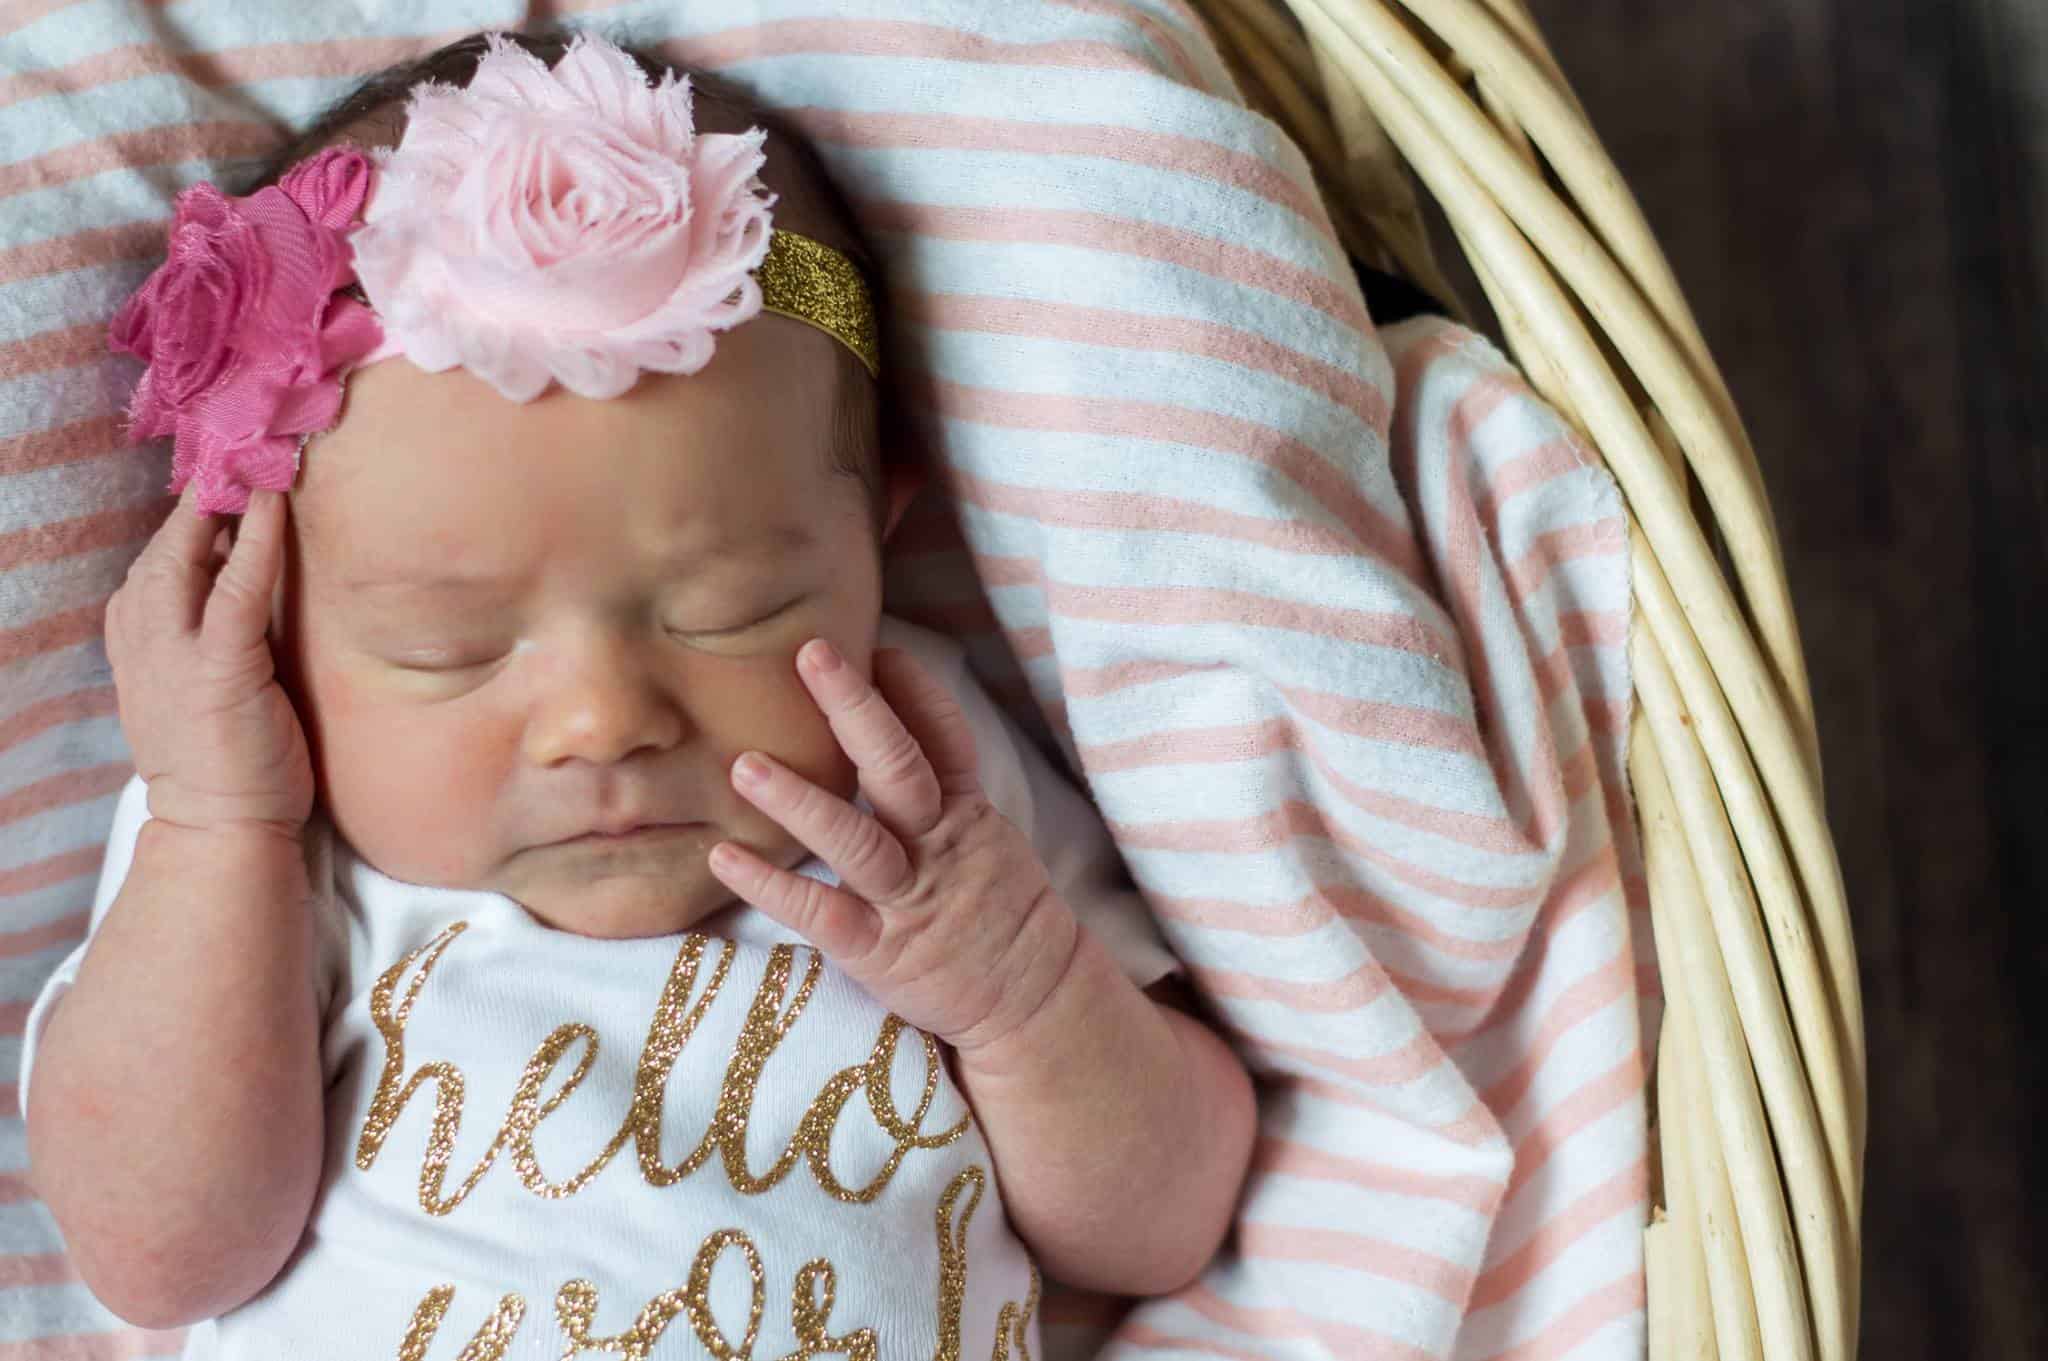
There are so many different backdrops you can pick from. Ones with Christmas scenes, castles, animals, just about ANYTHING you can imagine. Personally, I like to keep it simple. I like the back drops with a solid color/pattern, or that have a wood grain look to them. To me, the goal of the backdrop is to look like my kids are not at a castle (though I am sure that would be thrilling for a little girl somewhere), but to look like we are taking the pictures say, in a barn.
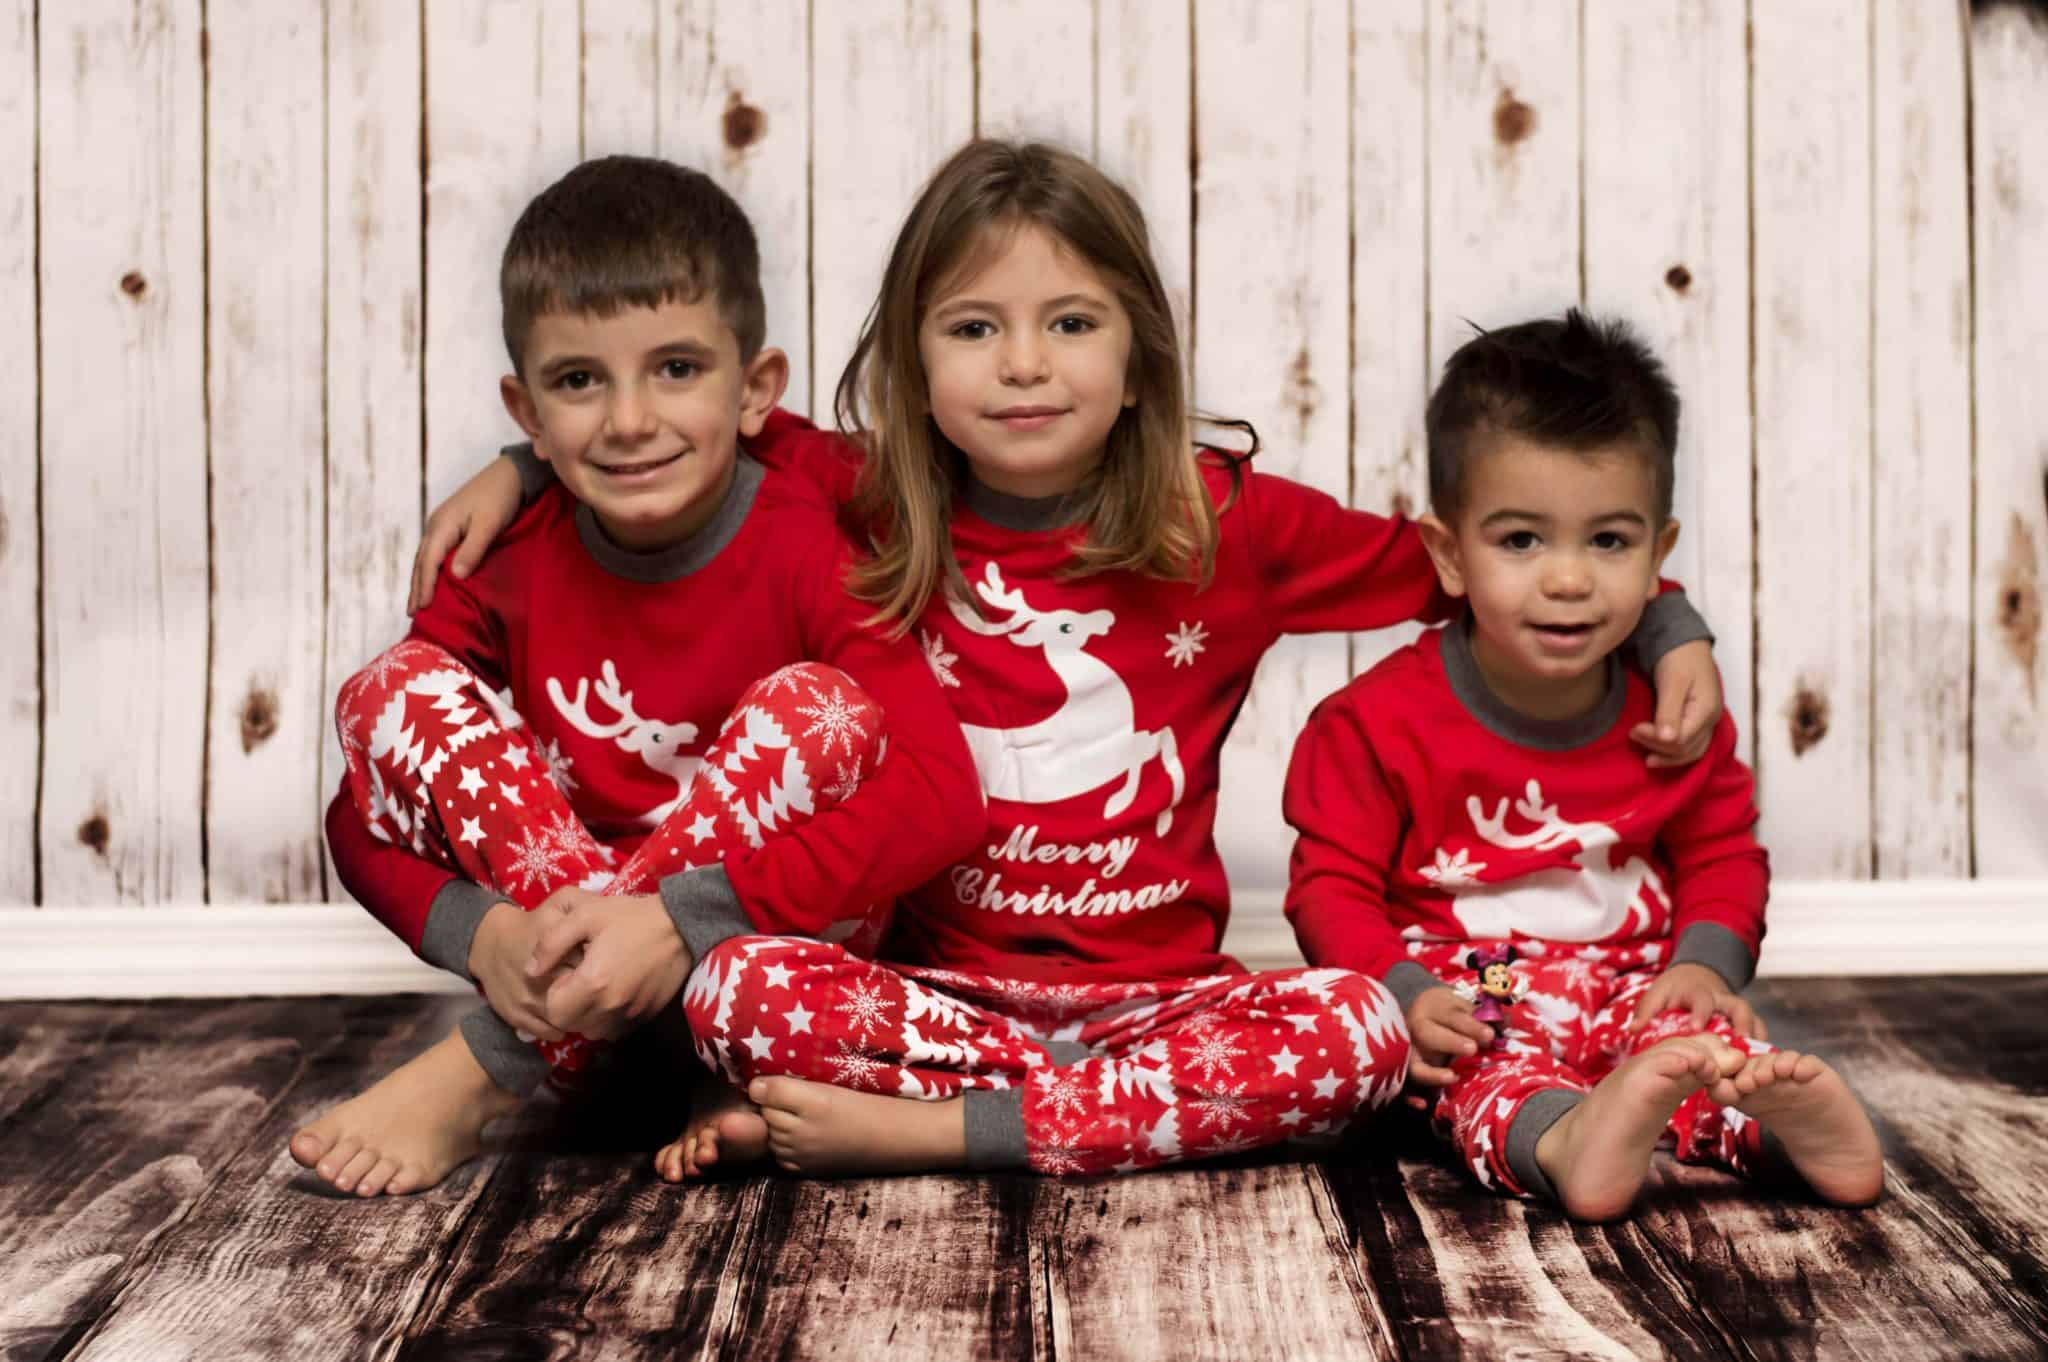
See. Nothing fancy. I like the backdrops to hardly be noticeable so that the subjects stand out.
Backdrops come in different shapes sizes and forms. Some tips and things to consider:
- Size: It is important to make sure you order a size that will fit the area your subjects are in front of. I usually at least try to find one that is 4X6ft.
- Type: Some backdrops are made for behind the subject, some are meant for the floor, and some can be interchanged. Also, there are backdrops which are a continuous sheet from the floor to the backdrop. These are easier to use than two different sheets!
- Quality: Some backdrops come in vinyl material (which is easy to wipe off if they get dirty). To me, vinyl is ideal as it doesn’t show wrinkles as much. Paper ones are typically cheaper. I have used paper many times, but it easily wrinkles (you will be able to see some wrinkles in some pictures in this post). Once I even bought a fabric one- but I was never able to get the creases out!
- Print: Do you want a natural print or something fancy? There are so many options!
Here are some options I have used. Check them out- reviews and see what prints you like!
As an alternative, you can get creative and use items in your house as free backdrops. Do you have a comforter or shower curtain with a pretty pattern on it? Or do you have a solid wall that could provide a nice backdrop? Try using those!
2) Backdrop Support System
This is the easy part. The backdrop support system is what holds up the backdrop. Simple enough. If you don’t know what they look like check out a few below. They range in price, but usually you can find one for around $35. I recommend getting one with clamps, so that you don’t have to buy the clamps separate like I did.

To use these. You just assemble the system (usually takes <5 minutes) and use the clamps to hold up your backdrop. Viola!
3) Lights, Camera, Action
Ideal situation: you are in a well lit room and don’t need extra lighting. However, if you are not there are some options to help improve the exposure in your image.
- Buy an external flash (one you hook onto your camera)- I will get into flashes more in future posts, but I NEVER use the flash on my camera. EVER. External flashes give you a softer, less blinding, less shadow creating burst of light.
- Invest in studio lighting– I shouldn’t use the word ‘invest’. It sounds so…expensive. You can find studio lighting units for ~$40. Not too pricey when you compare to a sitting fee at a professional studio! These provide constant soft light to brighten up the area.
Here are a couple external flashes and studio light systems I like. Flashes are nice to have, but the studio light systems are very easy to use (you don’t have to fiddle with the flash) and give a great brightness to your images!
If you want to learn more about how to use these lighting options, check out my post with a video tutorial!
Summary
Doing your own in-home photo shoot is super fun and way cheaper than going to a studio. A backdrop (with system) and potentially extra lighting is really your only cost!
Check out my short video on setting up an in-home studio!
As promised, some tips that I have learned over the years:
- If you use a paper backdrop, make sure you smooth it out! Nothing looks more unnatural than ‘wrinkled up wood’!
- Make sure if you use two separate pieces for the ground and back drop that there are no gaps. Gaps are eye sores! I bought a white baseboard (a few bucks at Home Depot) to make the backdrop to ground transition look more natural.
- Never use the built-in flash on your camera. It will show up as shadows all over the backdrop.
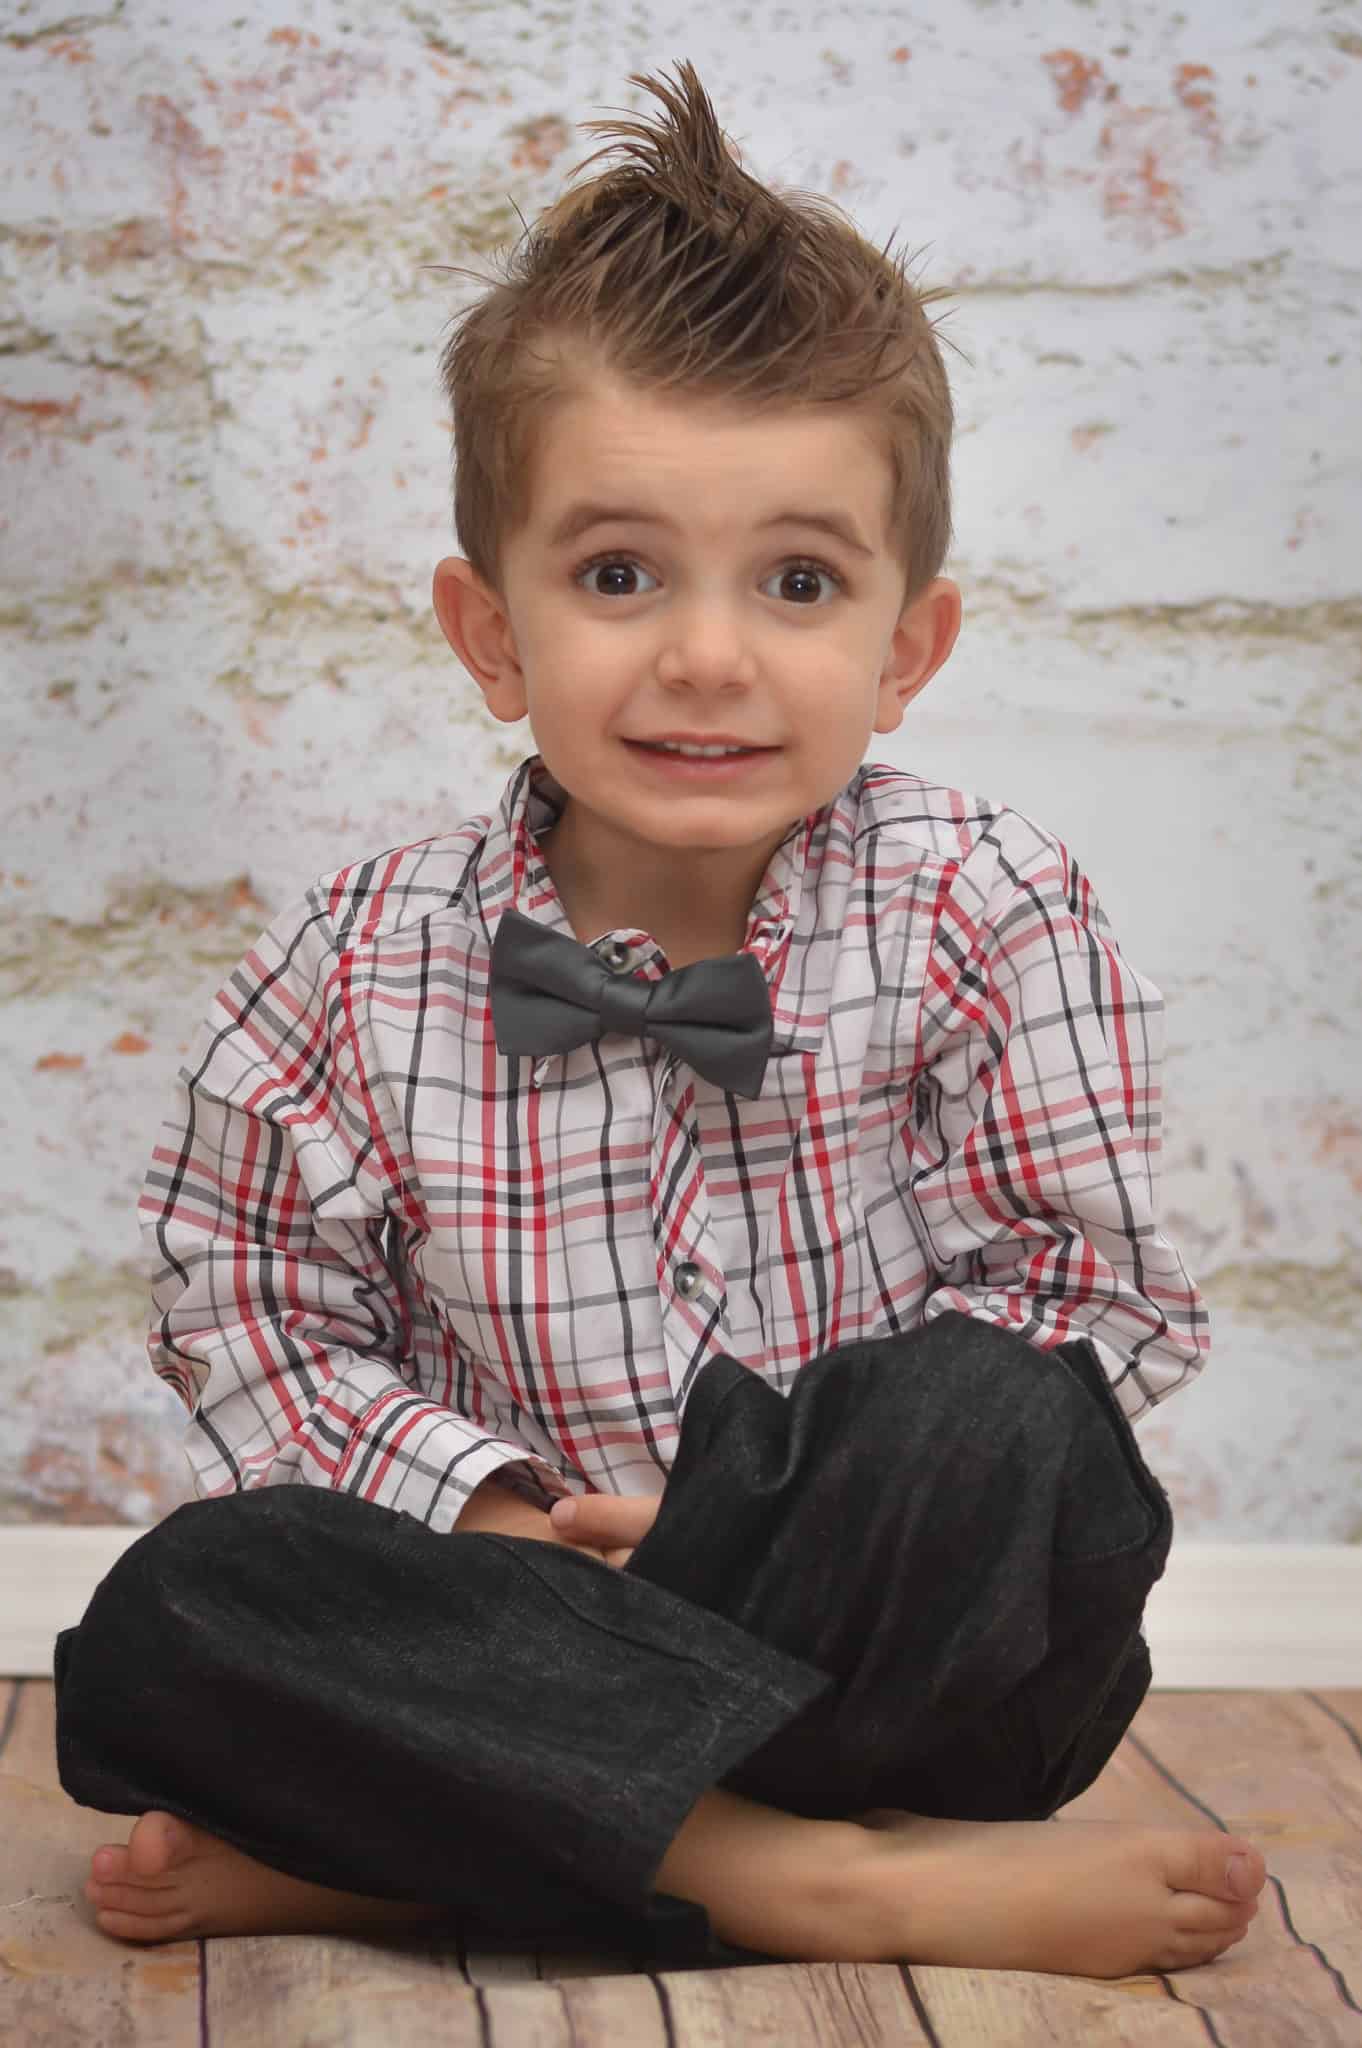
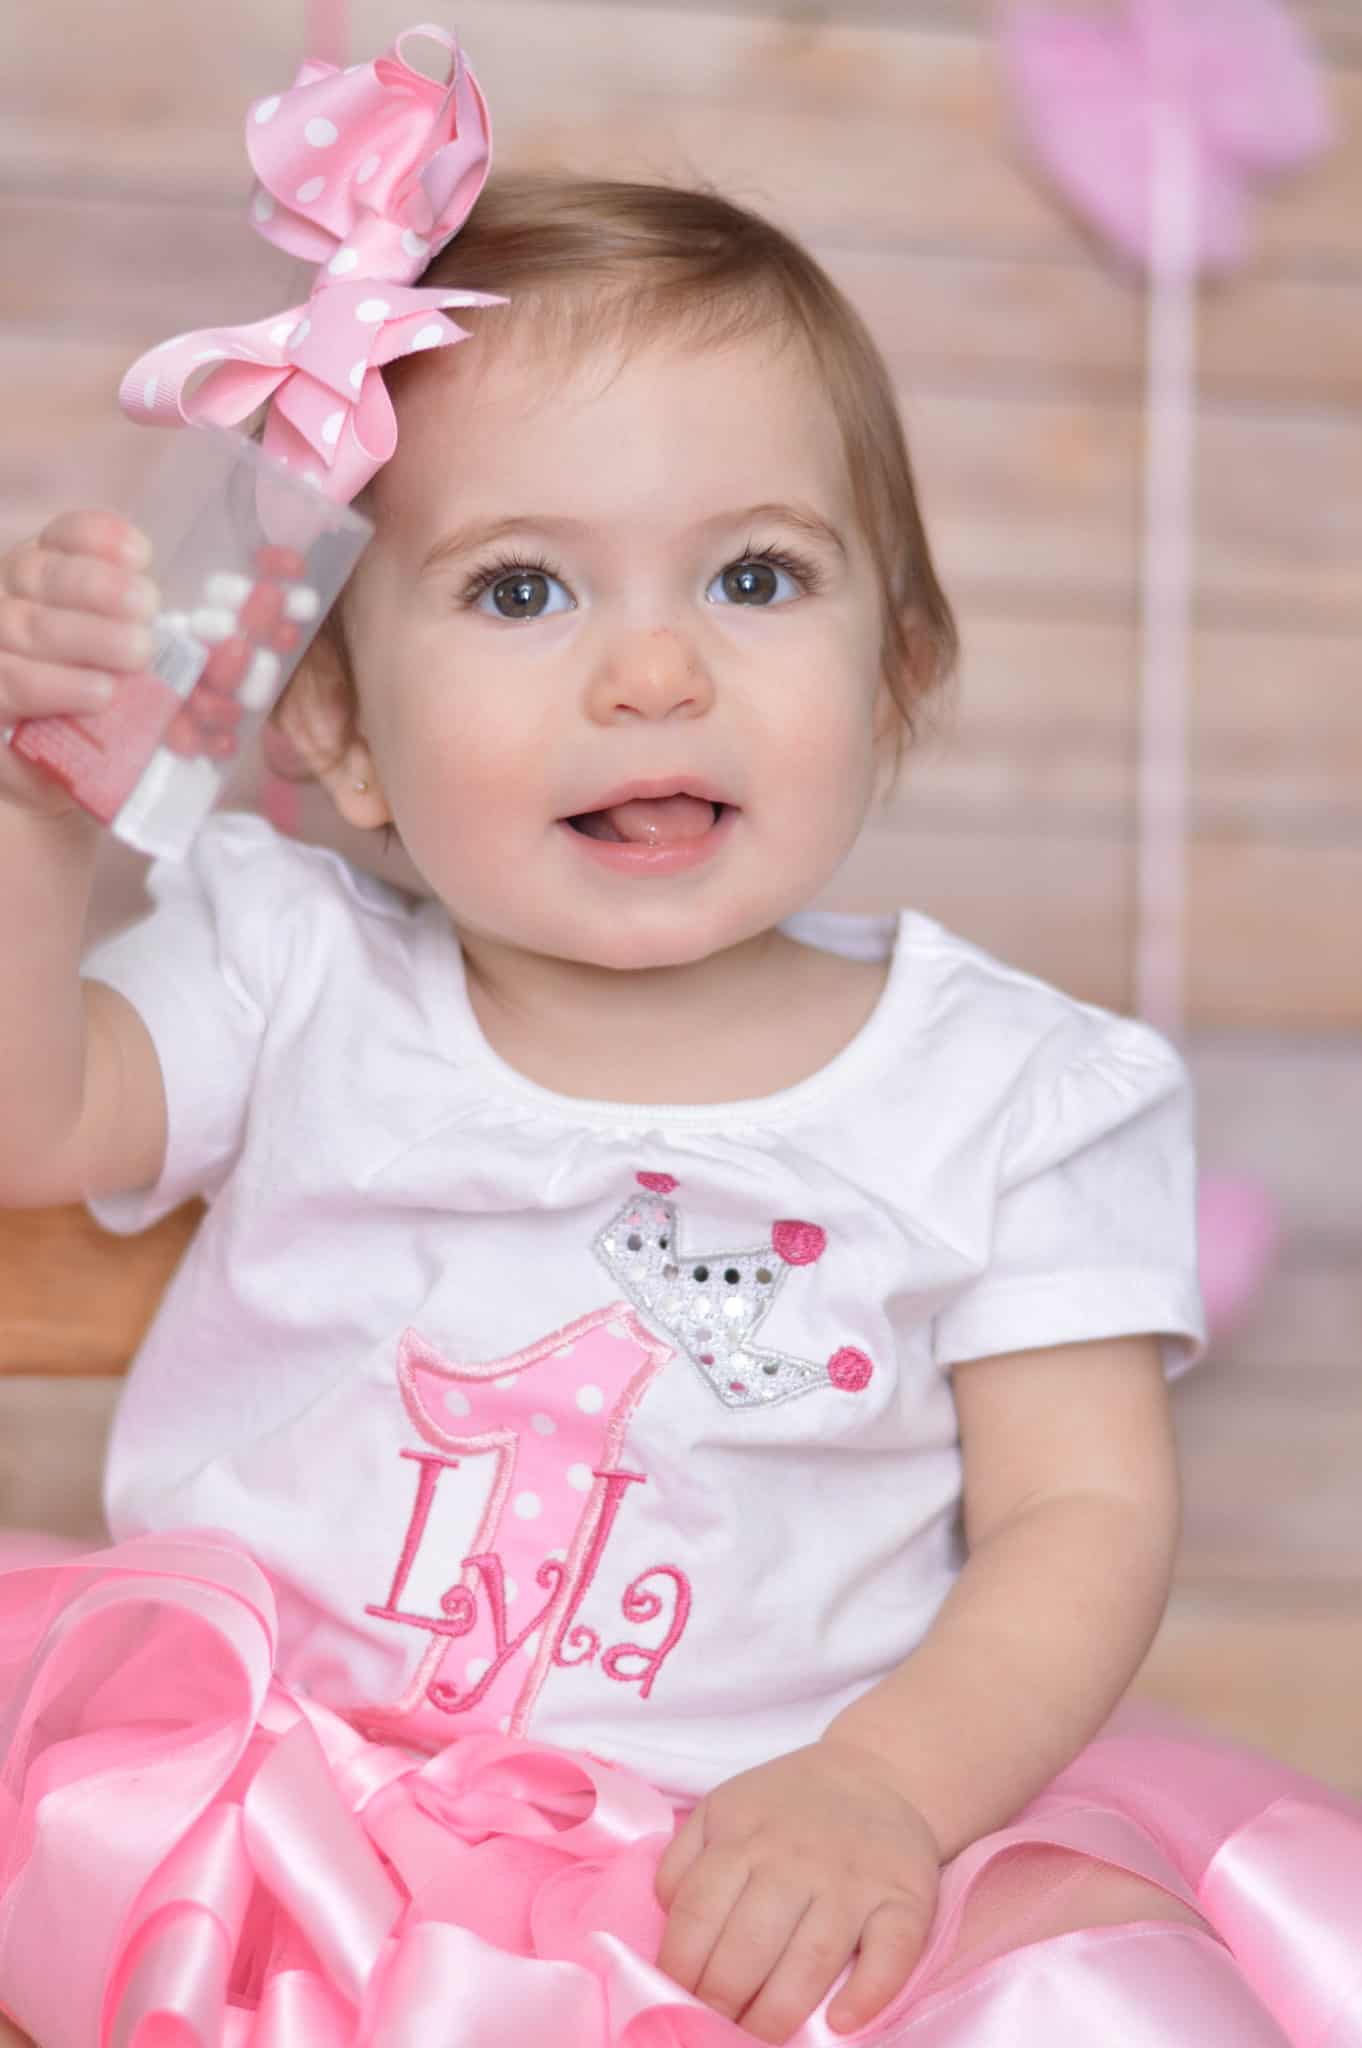
- There are a ton of adorable props and outfits for boys and girls on Amazon and Etsy that really make the photo shoot feel special!
Check out more backdrops and use your creativity! Here are a few I think I might check out! If you found this post helpful, share on Pinterest!
- Stinging Nettle: The Nourishing Green Powerhouse
- Plantain Leaf: The Quiet Healer Beneath Your Feet
- Skullcap: The Quiet Herb for Busy Nerves
- Mullein: The Velvet Giant of Herbal Medicine
- Echinacea: The Bright Coneflower of Immune Support
If you found this helpful, share it!
Simple Guide for DIY Smash Cake Pictures -
Tuesday 25th of June 2019
[…] sheets of material (paper, vinyl, or cloth) that you would hang behind the subject as a background. I have an entire post on backdrops and setting up a studio here. There are plenty of beautiful options to pick from, and it is really fun to pick out what you […]
Video Tutorial: In-home Photo Shoots - Simply Snapping Mom
Wednesday 9th of January 2019
[…] For a complete guide, take a look at my post on setting up an in-home studio. […]
John Mulindi
Thursday 20th of December 2018
Your articles shares some great and helpful photographing tops. Thanks for sharing these photo tips.
Online Marketing Mayhem
Thursday 20th of December 2018
i love the matching sweaters. That is the cutest thing!!
Gillie
Wednesday 19th of December 2018
These are great tip for shooting family of all ages. I want to get some recent portrait like photos of my sons who are in their 20s.