
Wouldn’t it be great if your camera came with it’s own personal instructor? How awesome would it be if that instructor reviewed all of your camera settings? Wouldn’t you love if that instructor also told you if you selected the correct settings before you took your picture?
What if I told you that your camera actually does come with a built-in guide; which can evaluate both the lighting around you and your camera settings. This guide will tell you, prior to taking your picture, if the selected settings will create an overexposed or underexposed picture.
This one simple “guide” helped me turn my pictures from this:

To this:

This guide is called your meter. It is simple to use and will dramatically improve your photography skills.
Learn how to take headshots here!
What is a Meter?
Believe it or not, your DSLR camera has a built-in light meter that automatically measures the light and determines the optimal exposure. This means that it will tell you if the settings you selected will create a light (overexposed) picture, or a dark (underexposed) picture.

When you press your camera trigger half way down, the meter will do the evaluation. You can view this on the back of your camera and, depending on your camera, when looking through the view finder.
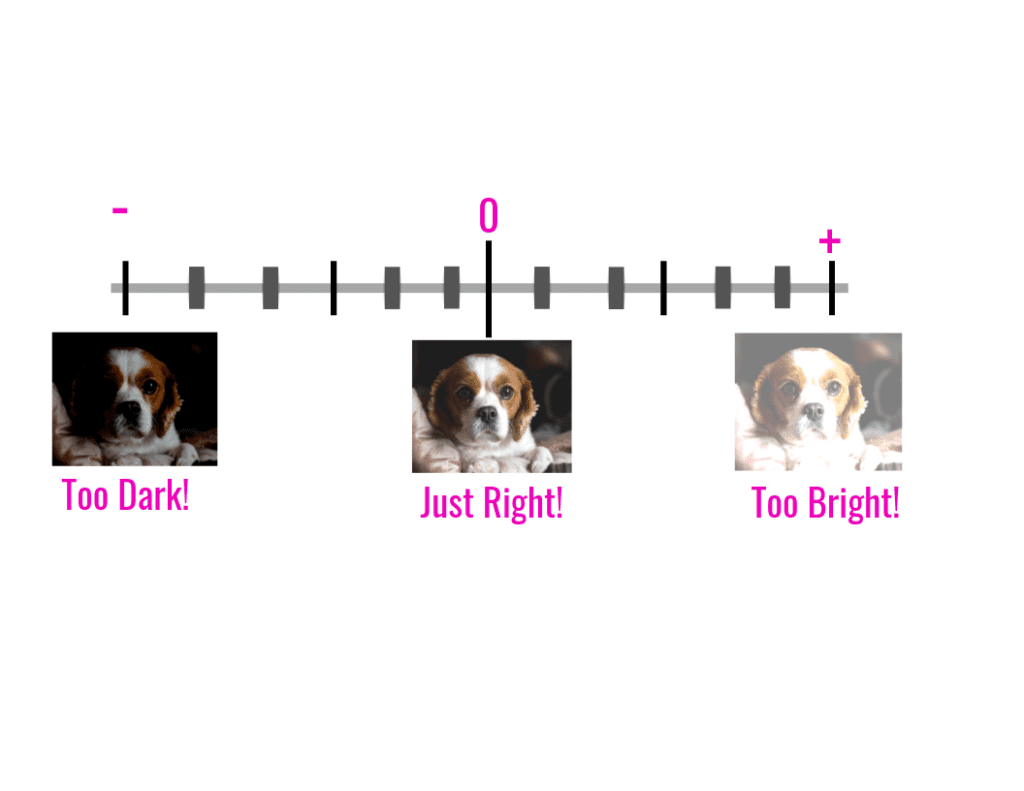
If the indicator is in the middle (at 0), then your exposure is right on! If the indicator is to the left, your picture will be dark – and if it is to the right, it will be light.
How Can You Use the Meter?
Your meter is your built-in camera setting consultant. If your meter is indicating that your picture will be too dark or too light, you can adjust your settings to fix this.
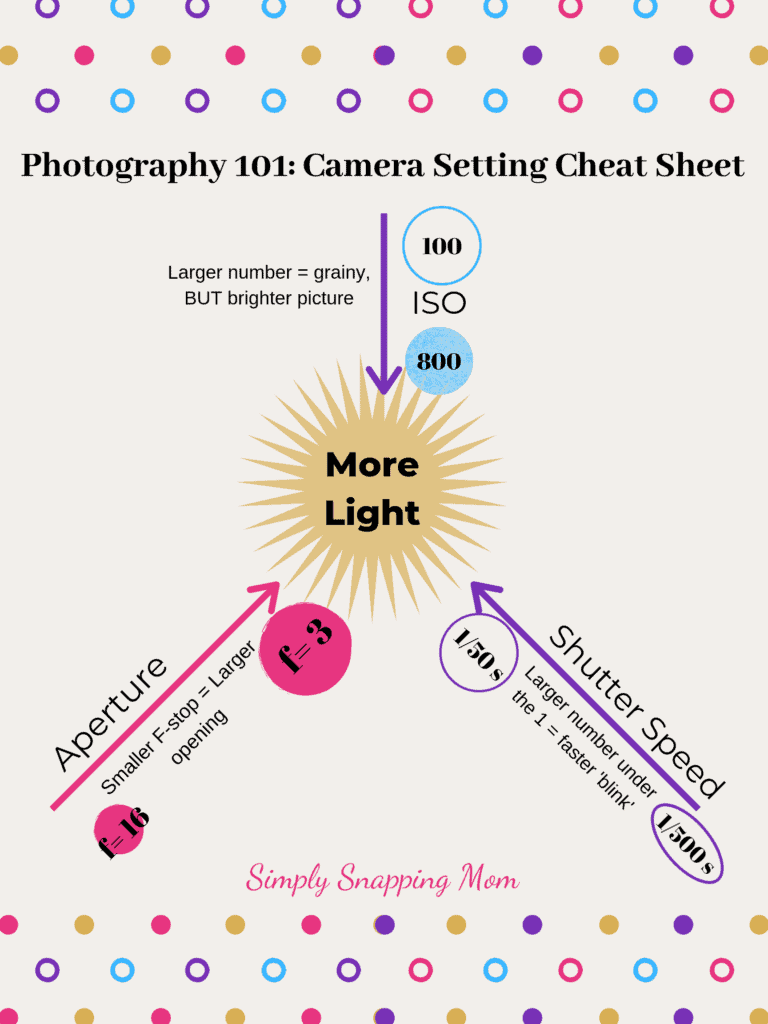
For a better understanding of your three main camera settings check out my descriptive post for visual learners or my camera setting articles here (video tutorials included!):
- Shutter Speed Explained for Photography Beginners: The Secret to Clear Photos
- Aperture Explained for Photography Beginners: The Secret to Background Blur
- ISO Explained for the Beginner Photographer: The Secret to Manual Mode
Yikes – Too Dark!

If your picture is too dark, don’t sweat it! You can:
- Increase your ISO (will make your camera more sensitive to light)
- Lower your f-stop/aperture (will widen your camera opening to let in more light
- Slow down your shutter speed (will allow for more light to enter your camera)
Whoa – too bright!

If your picture is too bright, no problem! You can:
- Lower your ISO (will make your camera less sensitive to light)
- Increase your f-stop/aperture (will constrict your camera opening and let in less light)
- Increase your shutter speed (will allow for less light to enter into your camera)
This quick video will walk you through how to use your meter and give a real-time demonstration.
If you haven’t yet, check out this post to learn all about your basic camera settings first.
Metering Modes
You have some options when it comes to how your camera meter evaluates it’s surroundings. The different metering modes allow for different ways for your camera to take in what is around you. There are three main metering modes: spot, center-weighted, and matrix (for Nikon)/evaluative (canon).

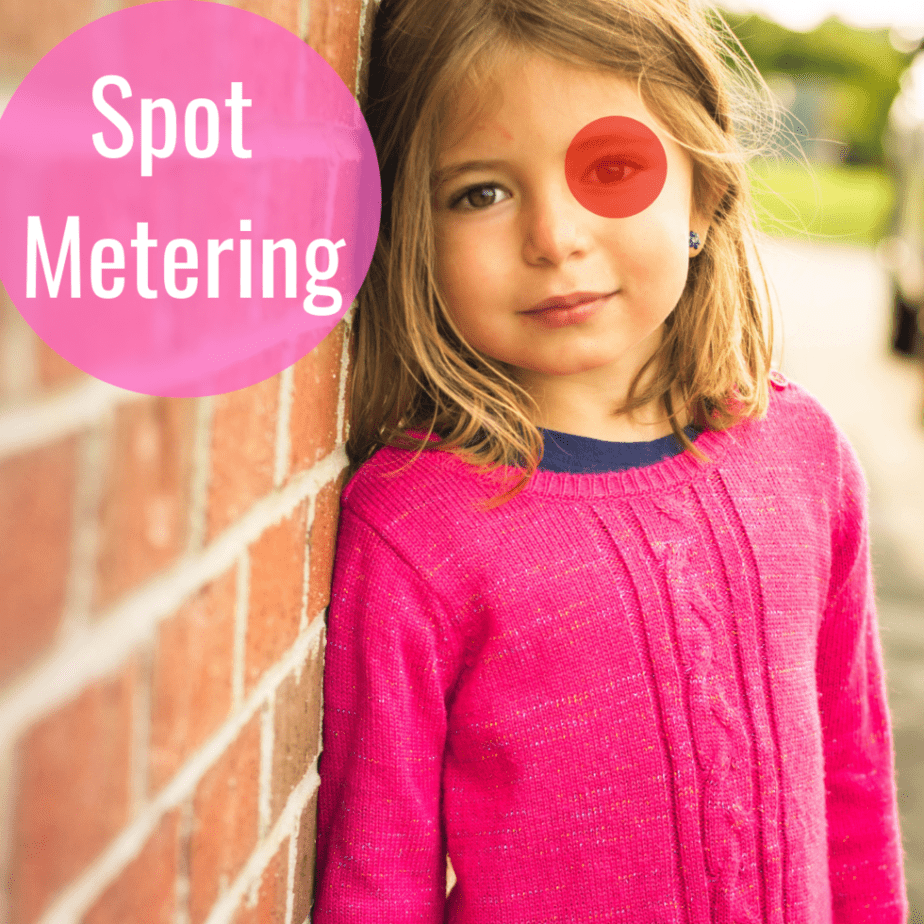
Spot Metering
Spot metering will look at one specific spot on your camera. It will evaluate what the light looks like at your selected focal point. I personally prefer this mode, as I feel it gives me the most accurate reading.
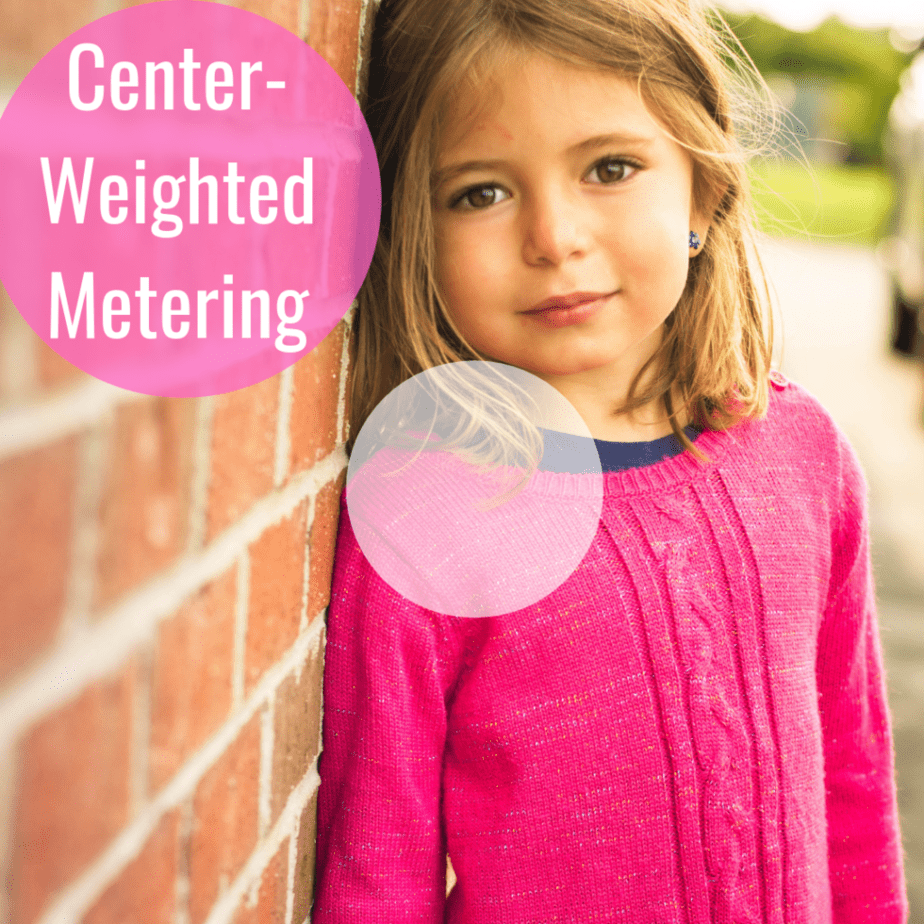
Center-weighted Metering
Center-weighted metering evaluates what the light looks like in the very center of your image.
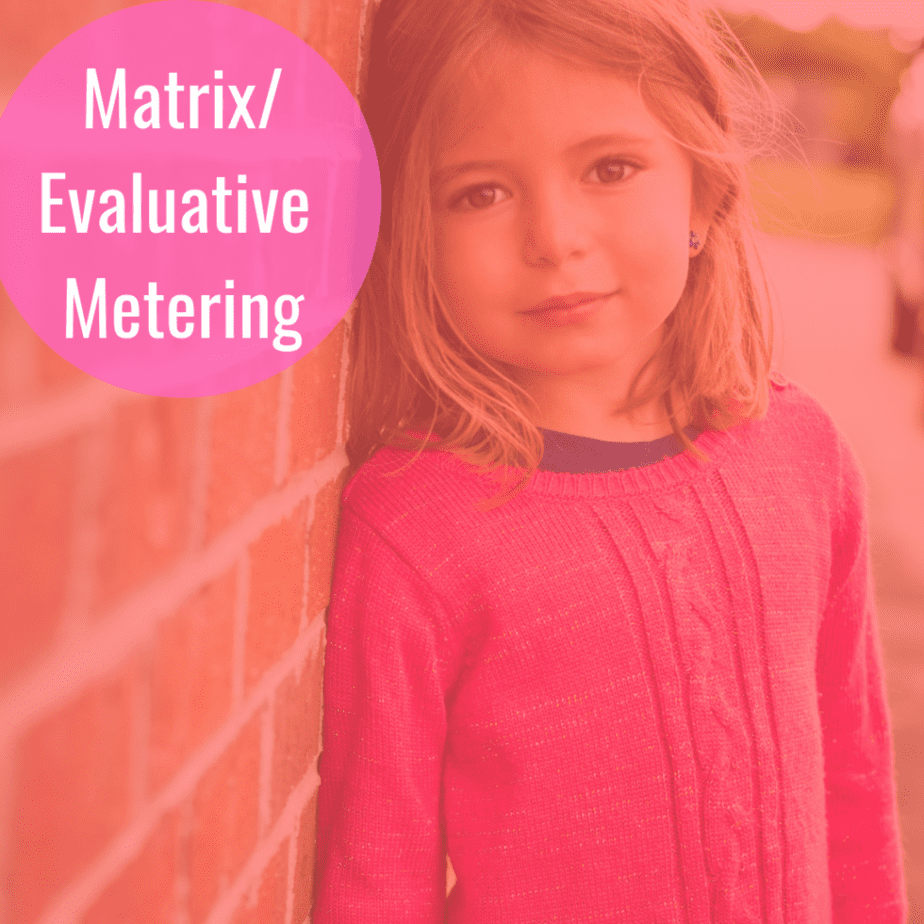
Matrix/Evaluative Metering
This form of metering looks at the everything in view to evaluate the lighting. It is often your camera’s default option, and it is often a sufficient option.
Summary
Your meter is a fantastic built-in consultant, which will guide you as you learn and use your camera settings.
Remember, press the camera trigger halfway down and check out if your meter thinks your picture will be over- or underexposed.
Print out this Metering Guide – and subscribe to join our community where you will have access to all the Simply Snapping Mom freebies.
For me, using manual mode seemed like a distant dream until I started to utilize my meter. With practice, your meter will train you to start to truly understand aperture, shutter speed, and ISO.
Now, when I walk into a room, my eyes automatically scan the room and evaluate the camera settings I will need…and sometimes, I don’t even have my camera with me.
If you want a FREE, super-easy to follow camera guide, below download and instantly print your copy of Simply Snapping, a free 20-page photography tutorial for beginners:

If you are looking for a great beginner lens, check out a 50 mm lens. This is a versatile lens (I use for 99% of my pictures). It gives beautiful background blur and is great for photos in low light situation!

I hope this made snapping a little more simple for you! If you found this helpful, be sure to share it or save it for later and check out some other recent photography posts:
- The Best Headshot Photography Guide for New and Professional Photographers
- How to Take Pictures During the Golden Hour
- Top 5 Most Common Beginner Photography Questions Answered
- 10 Photography Posing Prompts for Natural Family Photo Sessions
- The Ultimate Guide to Everyone’s Favorite Holiday Photographs

Shutter Speed Explained for Photography Beginners: The Secret Clear Photos - Simply Rooted Family
Wednesday 16th of March 2022
[…] Tie it all together with your camera’s meter […]
Crazy-Simple Photography Beginner's Guide to Camera Settings Basics - Simply Rooted Family
Wednesday 2nd of February 2022
[…] tutorial, and learn exactly how to use these settings, and learn about your camera’s exposure meter and focus […]
Rc
Saturday 7th of November 2020
Thanks for your kind help. But I have a problem with the so called "blinkies" no matter where I am shooting indoor/outdoor situation. Some pros said use Kelvin, which I tried but it took me many tries to get almost right ht, because there was a minimum high lights. I am really frustraded. Do you have a suggestion? Thanks again.
Top 5 Photography Questions Answered -
Thursday 2nd of April 2020
[…] Click here for my full post on what the meter is and how to use it to improve your photography. […]
Goldfish and Gin
Tuesday 24th of March 2020
This is super helpful! I’ve got a DSLR that I’ve been playing around with for a while so I’ll have use this to help!